Desktop injection molding enables cost-effective, small-scale production of plastic parts, ideal for prototyping and low-volume manufacturing.
Desktop injection molding is a compact manufacturing process that utilizes small, benchtop machines to create precise plastic parts. It’s an excellent choice for prototyping, educational purposes, and small batch production, offering a balance of affordability and functionality. This article dives into the materials used, the step-by-step process, key factors influencing outcomes, practical applications, and how it stacks up against other manufacturing methods like 3D printing and CNC machining.
Desktop injection molding enables cost-effective, small-scale production of plastic parts, ideal for prototyping and low-volume manufacturing.True
By using compact machines, it reduces initial investment and operational costs compared to industrial injection molding.
- 1. What are the Common Materials Used in Desktop Injection Molding?
- 2. What are the Steps in the Desktop Injection Molding Process?
- 3. What are the Key Factors Affecting the Desktop Injection Molding Process?
- 4. What are the Applications of Desktop Injection Molding?
- 5. How Does Desktop Injection Molding Compare to Other Manufacturing Processes?
- 6. Conclusion
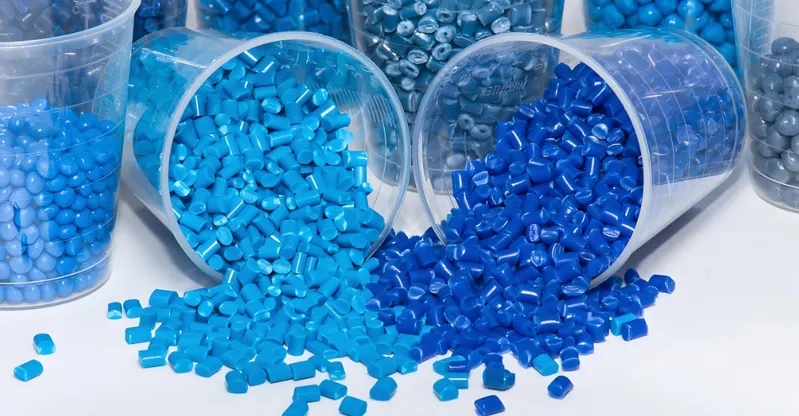
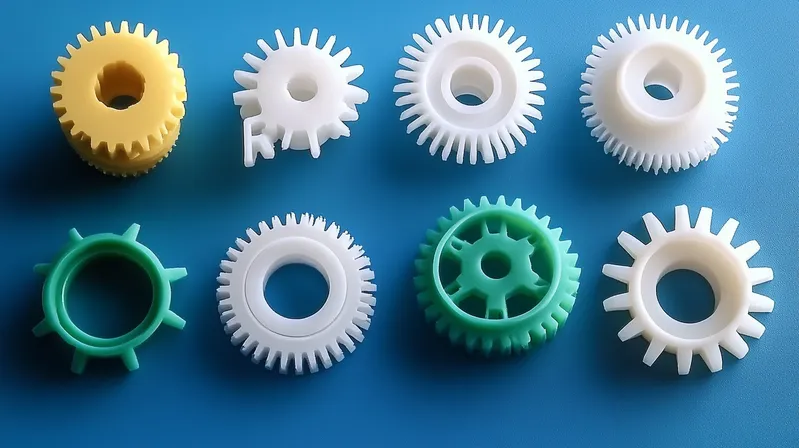
What are the Common Materials Used in Desktop Injection Molding?
Desktop injection molding relies on thermoplastics1—polymers that soften when heated and harden upon cooling. The material choice directly affects the part’s strength, flexibility, and suitability for specific uses.
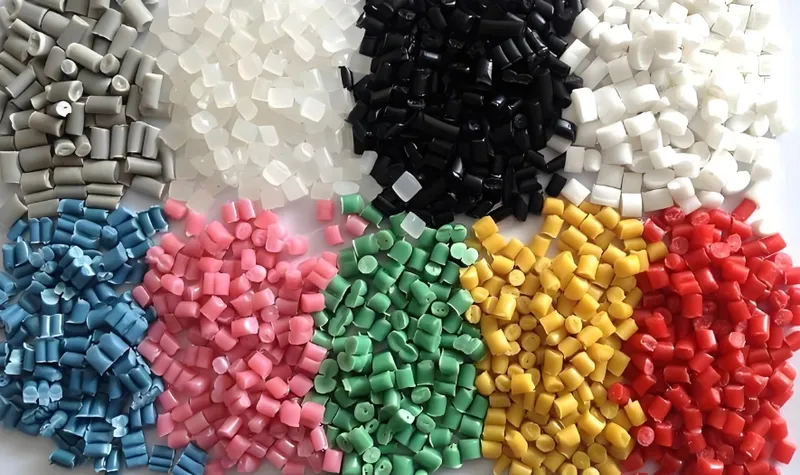
Common materials include polypropylene (PP), polyethylene (PE), nylon, polycarbonate (PC), acetal, ABS, and PC/ABS, with a preference for those having high melt flow rates (MFR > 3 g/10min) to ensure optimal flow and part quality.
| Material | Properties | Common Applications |
|---|---|---|
| Polypropylene (PP)2 | Lightweight, chemical resistant | Containers, automotive parts |
| Polyethylene (PE) | Flexible, durable | Packaging, toys |
| Nylon | Strong, wear-resistant | Gears, bearings |
| Polycarbonate (PC) | Transparent, impact-resistant | Lenses, electronic components |
| Acetal | Low friction, dimensionally stable | Mechanical parts, precision components |
| ABS | Tough, impact-resistant | Consumer goods, automotive parts |
| PC/ABS | Combines strength and heat resistance | Electronic housings, automotive interiors |
Only expensive, high-performance plastics can be used in desktop injection molding.False
While high-performance plastics can be used, common thermoplastics like PP and PE are also suitable and more cost-effective.
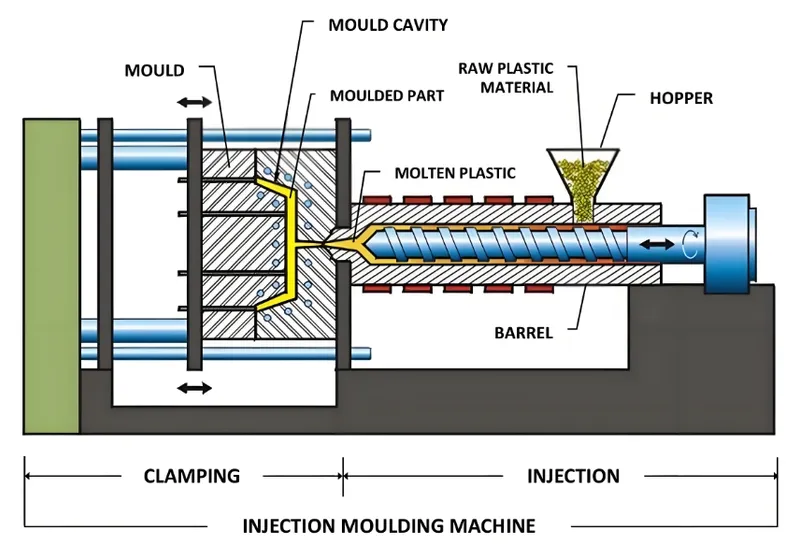
What are the Steps in the Desktop Injection Molding Process?
The desktop injection molding3 process transforms plastic pellets into finished parts through a streamlined sequence of steps, making it accessible even for small-scale operations.
The process includes setup, material preparation, heating and injection, cooling and ejection, and iteration for continuous production.
-
Setup: Unbox and configure the machine (about 30 minutes), then install the mold (an additional 15 minutes).
-
Material Preparation: Choose thermoplastic pellets with appropriate properties (e.g., MFR > 3 g/10min) and load them into the hopper.
-
Heating and Injection: Melt the pellets in the barrel (up to 330°C) and inject the molten plastic into the mold under high pressure (around 5000 PSI).
-
Cooling and Ejection: Allow the mold to cool, solidifying the part, then eject it. Cycle times are typically around 60 seconds.
- Iteration: Repeat the process, often using automatic modes for continuous production.
Desktop injection molding requires extensive manual intervention.False
While setup is manual, the process can run automatically in multi-run mode for continuous production.
What are the Key Factors Affecting the Desktop Injection Molding Process?
The success of desktop injection molding hinges on several variables that influence part quality and production efficiency.
Key factors include temperature control, injection pressure and speed, cooling time, material properties4, and mold design5.
-
Temperature Control: Barrel temperature determines melt viscosity, while mold temperature affects cooling and part finish.
-
Injection Pressure and Speed: These ensure the mold fills completely, avoiding defects like flash (excess material) or short shots (incomplete filling).
-
Cooling Time6: Adequate cooling ensures the part solidifies properly,maintaining shape and strength.
-
Material Properties: High melt flow rate (MFR) materials7 improve flow, reducing defects and speeding up cycles.
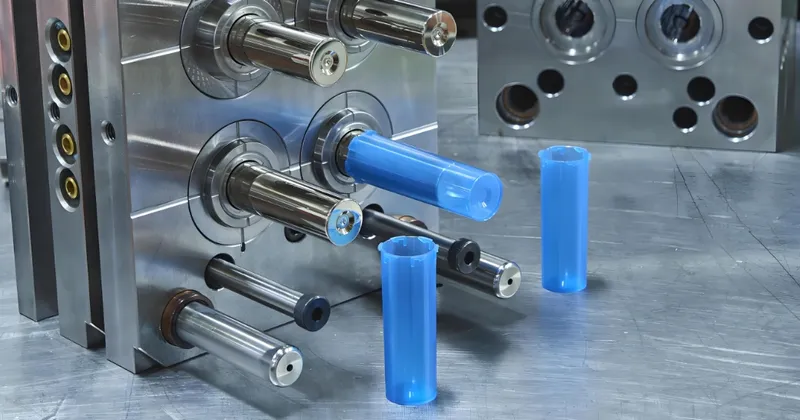
- Mold Design: Features like draft angles (>3 degrees), uniform wall thickness (1-3.5 mm), and proper gating are critical for success.
Mold design is irrelevant in desktop injection molding.False
Proper mold design is crucial to avoid defects and ensure part quality, similar to industrial injection molding.
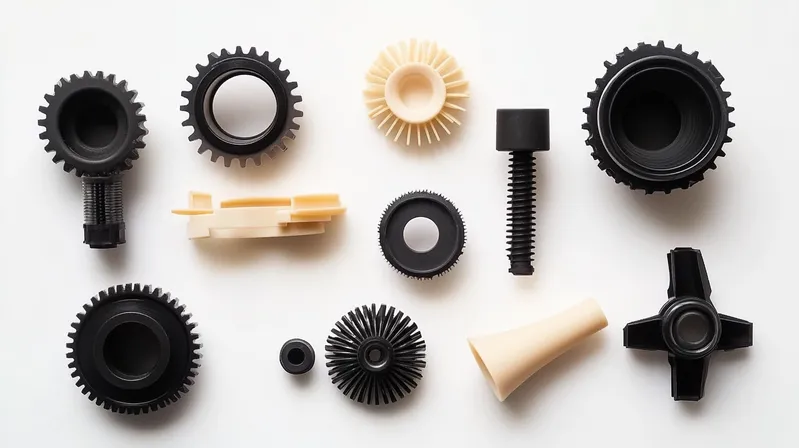
What are the Applications of Desktop Injection Molding?
Desktop injection molding shines in scenarios requiring quick, cost-effective production of functional plastic parts.
It is used for prototyping, educational purposes, small batch production, and R&D, particularly for custom plastic parts in consumer electronics, medical devices, and automotive components.
-
Prototyping8: Rapidly create functional prototypes to test designs.
-
Education: Provide hands-on learning about manufacturing processes.
-
Small Batch Production: Economically produce limited runs of parts.
-
R&D: Experiment with new designs and materials in a controlled setting.
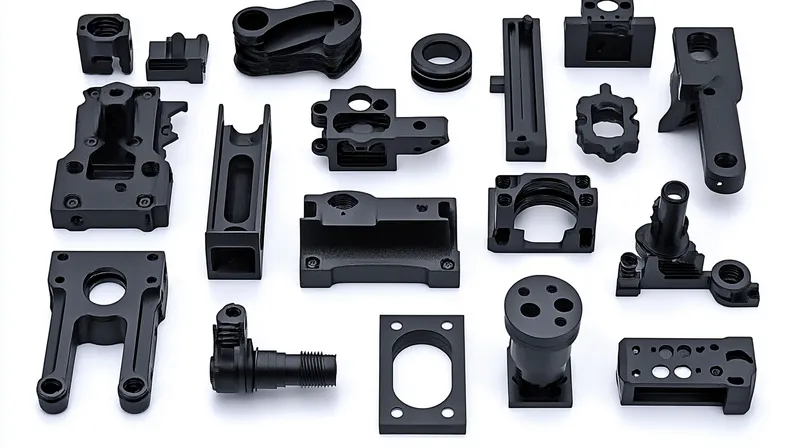
Desktop injection molding is only suitable for simple parts.False
With proper mold design, it can produce complex geometries, including parts with undercuts and thin walls.
How Does Desktop Injection Molding Compare to Other Manufacturing Processes?
Choosing the right manufacturing method depends on understanding how desktop injection molding differs from alternatives like 3D printing and CNC machining.
Desktop injection molding excels in high-volume production of plastic parts but has higher initial tooling costs and less flexibility for design changes compared to 3D printing and CNC machining.
| Aspect | Desktop Injection Molding | 3D Printing9 | CNC Machining10 |
|---|---|---|---|
| Production Volume | Best for medium to high volumes | Ideal for low volumes and prototypes | Suitable for low to medium volumes |
| Cost Efficiency | Economical for large quantities | Low initial cost, high per-part cost | Moderate initial cost, variable per-part cost |
| Design Flexibility | Limited by mold design | High flexibility, easy changes | Moderate flexibility, depends on tooling |
| Speed | Fast production cycles (60 seconds) | Slower for complex parts | Fast for simple parts, slower for complex |
| Material Options | Wide range of thermoplastics | Limited to specific plastics | Broad range, including metals |
| Tooling | Requires molds, high initial cost | No tooling required | Tooling required, moderate cost |
Desktop injection molding is always the cheapest option.False
While cost-effective for high volumes, the initial tooling costs make it less economical for small runs compared to 3D printing.
Conclusion
Desktop injection molding provides a practical, affordable way to produce precise plastic parts, making it a go-to for prototyping and small-scale manufacturing. By mastering the materials, process steps, influencing factors, and applications, users can maximize its advantages. While it outperforms 3D printing and CNC machining in speed and cost for higher volumes, its reliance on molds means it’s less adaptable for frequent design tweaks. Choose it when you need consistent, functional parts fast—and don’t mind investing upfront in tooling.
-
Understanding thermoplastics is crucial for optimizing your desktop injection molding projects. Explore this link for in-depth insights. ↩
-
Discover the versatile applications of Polypropylene (PP) in manufacturing, enhancing your knowledge for better material selection. ↩
-
Learn how desktop injection molding stands out against traditional methods, helping you make informed production choices. ↩
-
Learn how different material properties influence the quality and efficiency of injection molding, crucial for successful production. ↩
-
Discover essential mold design practices that ensure high-quality production and minimize defects in injection molding. ↩
-
Exploring cooling time’s impact can help improve part quality and production efficiency in injection molding. ↩
-
Learn how MFR materials enhance flow and reduce defects, crucial for successful injection molding. ↩
-
Discover how prototyping can accelerate design testing and innovation in manufacturing processes. ↩
-
Discover the unique benefits of 3D Printing, especially for low-volume production and prototyping, by checking this resource. ↩
-
Learn about CNC Machining’s strengths and weaknesses compared to Desktop Injection Molding to make informed manufacturing decisions. ↩